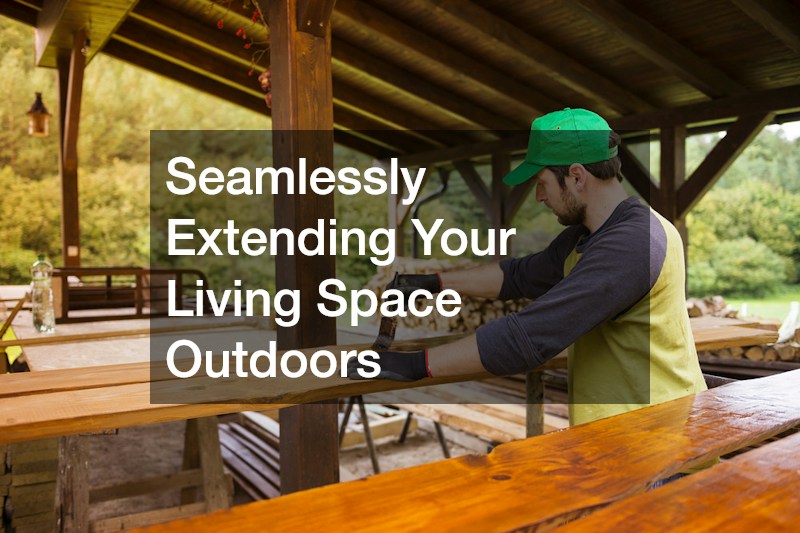

Over the last decade, the American backyard has transformed. Homeowners are moving away from a simple concrete slab with a grill and chairs to a focus on biophilic design, which connects occupants more closely to nature. This approach offers psychological and lifestyle benefits through exposure to natural elements, shifting backyards toward cohesive indoor-outdoor plans. Architects and designers prioritize fluid transitions to improve how families interact with their properties, erasing boundaries between indoor comfort and outdoor freedom.
Creating an outdoor area as an integral part of the home requires more than new patio furniture. It involves structural engineering, visual alignment, and environmental control to keep spaces functional across seasons. Whether expanding living space, increasing property value, or blending interiors with outdoor aesthetics, a systematic approach is crucial. Planning involves everything from the soil to the canopy, transforming a yard into an essential home extension.
Site Engineering and Canopy Management

Before any concrete is poured or foundation laid, the physical envelope of your property must be rigorously assessed and prepared. A successful indoor-outdoor transition begins with a comprehensive understanding of your site’s environmental dynamics, specifically focusing on solar orientation and subsurface stability. Balancing solar heat gain, natural lighting, and safety is the critical first step before building any ground-level infrastructure.
To start, conduct a sun-path analysis across both the winter and summer solstices. This analysis will help you pinpoint exactly where shade is beneficial during the sweltering summer months and where natural light needs to penetrate your interior windows during the darker days of winter. Once you deeply understand the natural light dynamics of your property, it is time to manage the overhead canopy.
- Hire professional tree services to perform necessary crown thinning, deadwood removal, and selective pruning of mature trees that surround your planned expansion zone.
- Establish strict, safe clearance zones directly above your proposed outdoor dining and lounge footprints to prevent falling branches, excessive sap drip, and potential storm damage from ruining your investment.
- Work carefully to preserve the critical structural root zones of any specimen shade trees, especially when trenching for outdoor utilities like electrical conduits, gas lines, and water pipes.
Once the overhead environment is secure, you must turn your attention to the ground. Eliminating underground settlement risks and insect attractants is mandatory prior to making any grade adjustments. Legacy root networks and subterranean wood pockets can severely compromise soil compaction over time, leading to uneven surfaces.
- Bring in dedicated stump grinding services to eliminate existing root flares to a depth of at least 12 to 18 inches below the planned finished grade of your new patio.
- Thoroughly remove all residual wood shavings from the excavated areas and backfill the voids with a structural sub-base material to prevent future settling, dangerous sinkholes, and the attraction of subterranean termites.
- Finally, grade the newly cleared envelope with a minimum two percent slope directed away from the primary foundation to guarantee positive drainage and protect your interior from water intrusion.
Architectural Alignment and Structural Envelopes

With the site properly engineered, the next objective is to erase the visual boundary where interior living ends and outdoor construction begins. The architectural alignment of your home’s structural envelope plays a massive role in creating expansive flow lines. To achieve this, the exterior cladding and transition materials must be carefully selected to echo your interior design language.
When interior accent walls match or perfectly complement the exterior finishes, the eye naturally travels outward, making the entire home footprint feel significantly larger and more cohesive.
- Select exterior transition materials such as horizontal fiber-cement lap siding, tongue-and-groove cedar, or modern composite batten that directly reflect the textures and lines found inside your home.
- Partner with certified siding companies to guarantee that all moisture barriers, intricate flashing details, and exterior wall cladding tie seamlessly into these new transition zones without voiding stringently held manufacturer warranties.
- Carry a single continuous accent color or wood grain texture from the interior living room straight through to the exterior porticos to visually elongate the living space and deceive the eye.
- Pay strict attention to proper water-table flashing at the base of exterior walls, particularly in areas where raised decks or newly poured flush hardscapes meet the vulnerable timber framing of the house.
Beyond surface aesthetics, you may also want to expand your existing floor plans with purpose-built multi-season rooms. These intermediate structures establish true hybrid environments that blur the dividing line between conditioned indoors and open-air spaces.
- Evaluate the structural framing requirements for your load-bearing exterior walls, particularly when introducing wide-span, multi-slide, or heavy bi-fold glass door systems that require substantial header support to function smoothly.
- Plan high-value home additions—such as conditioned sunrooms, architectural bump-outs, or expanded breakfast nooks—that serve as functional airlocks and visual gateways leading seamlessly to the yard.
- Design all door transitions with flush thresholds utilizing recessed tracks to eliminate awkward tripping hazards and provide seamless, universal accessibility for all generations of your family.
- Carefully balance your HVAC load calculations by integrating independent zone heating, such as radiant floor heating or ductless mini-split systems, within these extended structural spaces to ensure year-round comfort without overtaxing your primary furnace.
Flush Groundwork and Structural Hardscaping
The groundwork and hardscaping of your outdoor living area act as the foundational floor of your new exterior rooms. Establishing flush thresholds and durable walkways is essential to guide foot traffic naturally and safely. The overarching goal is to create a stable, level walking surface that mirrors the effortless flow of your interior hallways, completely removing the jarring step-down that traditionally separates a house from its backyard.
To achieve this continuous horizontal plane, the finished elevation of the outdoor patio surface must align precisely beneath the interior floor level, demanding exact site excavation.
- Align the outdoor surface with the interior subfloor, leaving just enough tolerance for the bottom sweep of your door hardware to operate smoothly while still keeping severe weather out.
- Contract a reputable local paving company to professionally excavate the area, install a graded aggregate base of crushed stone compacted in strategic lifts, and expertly lay high-density interlocking concrete or premium porcelain pavers.
- Integrate subtle, subterranean channel drains immediately along the exterior door threshold to aggressively intercept sheet runoff during heavy downpours, protecting your interior floorboards and basement from catastrophic water damage.
- Establish primary arterial walkways with minimum 48-inch widths to easily accommodate natural party traffic, side-by-side walking, and comfortable accessibility for all potential users.
Once the floor is established, you must anchor these functional zones with handcrafted retaining and fire features. These heavier elements add vertical dimension, act as natural windbreaks, and create compelling focal points that closely emulate the coziness of interior living room elements.
- Enlist an experienced masonry contractor to build custom stone retaining walls, permanent built-in bench seating, and dramatic fire features using durable regional natural stone that withstands freeze-thaw cycles.
- Mirror your interior materials by explicitly matching the exterior hearth veneer—whether that is sleek slate, rustic fieldstone, or modern painted brick—to your existing interior fireplace surrounds.
- Construct dual-purpose seat walls standing ideally between 18 and 21 inches tall to elegantly divide outdoor living “rooms,” without unnecessarily blocking valuable panoramic sightlines across the broader property.
- Proactively run all necessary gas lines, electrical conduits, and secondary drainage pipes straight through the masonry cores during the initial build phase to completely avoid unsightly, visible utility runs later.
Overhead Architecture and Dynamic Climate Control
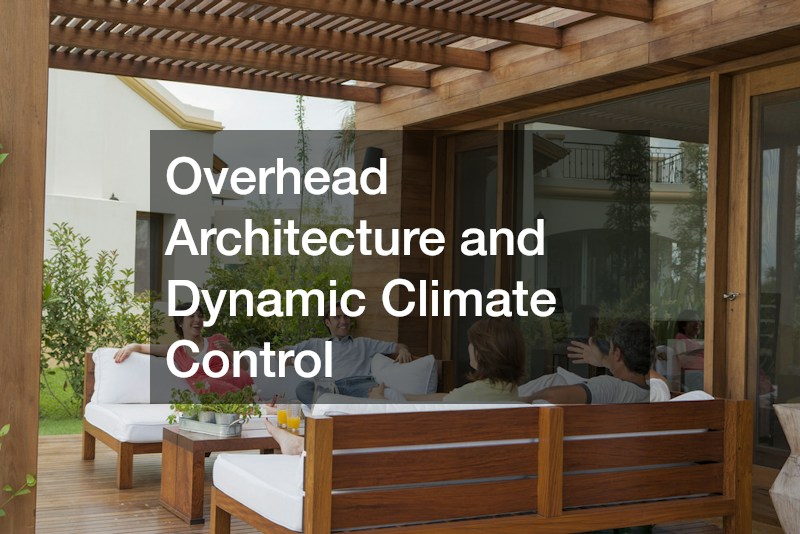
To truly give an open-air living space the scale, warmth, and sense of enclosure found in an interior vaulted room, you must look upward. Overhead architecture dictates the mood and usability of an outdoor space just as much as the structural flooring. Raising exposed beam structures to mirror interior ceilings creates a profound sense of continuity and shelter.
The structural canopy of your outdoor room should feel as robust and permanent as the actual roof over your bedroom, anchoring the space from above and defining the living zones.
- Design striking post-and-beam pavilions or open-air shade structures using massive, heavy timbers such as Douglas fir, Western red cedar, or white oak, which offer incredible longevity and unmatched visual warmth.
- Work alongside specialized local timber frame contractors to engineer traditional mortise-and-tenon joinery that not only looks beautifully historic but can confidently withstand heavy regional snow loads and severe wind uplift forces.
- Ensure your design actively matches the beam orientations and roof pitches with the existing architecture of your house to create the appearance of an original, integrated home feature rather than a tacked-on aftermarket afterthought.
- Conceal modern outdoor conveniences by expertly routing low-voltage ambient uplighting, discrete downlighting channels, and wiring for heavy-duty structural ceiling fans directly within the beam mortises to keep the overhead aesthetic clean and uncluttered.
While heavy timber provides the structural skeleton, dynamic climate control requires adaptable, modern solutions. Installing automated mesh barriers is a highly effective way to tame harsh solar glare and keep flying insects at bay without sacrificing the natural cross-breeze or your panoramic views.
- Mount motorized, track-guided pergola screens directly into the structural wooden posts to create a flexible, on-demand boundary that drops down seamlessly during peak insect hours or punishing midday sun.
- Select specialized solar screen fabrics featuring 5% to 10% openness factors, which perfectly preserve outward outward visibility while drastically cutting harmful UV rays and buffering strong, disruptive wind gusts.
- Integrate these mechanical screen controls directly into your smart home automation hubs, allowing for effortless one-touch operation linked to sunset schedules, local weather forecasts, or automated ambient climate sensors.
- For geographic areas with extreme seasonal shifts, consider dual-track setups that ingeniously combine solar blocking mesh with clear marine-grade vinyl panels to trap ambient heat from a fireplace during cooler shoulder seasons.
Environmental Buffers and Botanical Integration
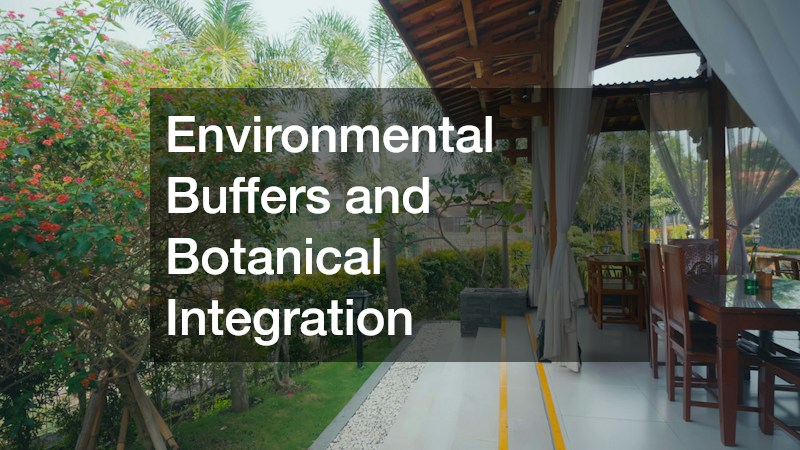
The final structural layer of a seamless outdoor extension involves manipulating the immediate environment through structural buffers and thoughtful botanical integration. While open-air pergolas are fantastic for fair weather, constructing fully insulated three-season spaces ensures unmatched year-round utility. These transitional rooms act as a climate-controlled sanctuary, shielded from harsh driving rain, heavy spring pollen, and uncomfortable temperature extremes, all while maintaining a 360-degree connection to the outdoors.
Creating these resilient environmental buffers requires a dedicated focus on high-performance materials and passive climate strategies to maintain interior-level comfort.
- Evaluate custom glass installations or heavy-duty vinyl patio enclosures featuring thermally broken aluminum or reinforced vinyl framing to absolutely prevent energy transfer and interior condensation buildup.
- Incorporate ceiling-mounted, directional infrared heaters and ultra-quiet, low-profile ventilation fans to proactively manage the room’s microclimate without the need for complex, expensive HVAC ducting expansions.
- Select advanced low-E, argon-filled insulated glass panels for your sweeping windows to strictly limit suffocating solar heat build-up during the high summer months and prevent rapid interior heat loss in late autumn.
- Arrange your interior furnishings utilizing advanced weather-resistant performance fabrics that perfectly mimic soft indoor upholstery textures, ensuring you maintain premium living room comfort regardless of the humidity outside.
Moving beyond the structural perimeter, you must carefully condition the surrounding garden beds to create layered, living softscapes. Plants are the ultimate transition material, softening rigid hardscape borders, creating natural privacy screening, and seamlessly blending the manufactured patio into the broader natural landscape.
- Excavate the nutrient-poor, heavily compacted clay typically found along new patio edges and deeply incorporate rich, organic-amended garden soil to promote aggressive, deep root growth and rapid plant establishment.
- Build a strategic, multi-tiered planting scheme utilizing tall evergreen hedge buffers like arborvitae or skip laurel for year-round screening, mid-height ornamental grasses to catch the breeze, and creeping groundcovers to organically soften the harsh lines of paver edges.
- Integrate intensely fragrant herbs such as lavender, rosemary, and mint directly adjacent to outdoor dining tables and sunken seating areas to provide an immersive, tactile, and sensory experience for your guests.
- Install highly efficient micro-drip irrigation networks directly beneath the mulch beds to meticulously maintain optimal planting health without causing unsightly and damaging water runoff onto your pristine paved surfaces.
Executing a seamless indoor-outdoor transition requires meticulous planning and a phased approach to construction. Without a strategic roadmap, property transformation can lead to disjointed aesthetics, budget overruns, and compromised structural integrity. By breaking the project into manageable phases, homeowners ensure that every element—from the foundation to the botanical accents—works in harmony to enhance the living experience. Properly managed phases minimize disruption to daily life and realize the final product with precision.
A solid project management blueprint begins with site preparation, including grading, canopy clearance, and utility trenching to establish a clean slate. This is followed by modifying exterior walls and building the architectural shell to ensure the home remains secure and watertight. Next, the focus is on flatwork paving, masonry, and erecting timber framing and enclosures to outline the space. The project concludes with finish work, electrical trim, climate control integration, and installing planting beds. An exceptional outdoor living space is not a random collection of products but a deliberate architectural continuum that extends the comfort, function, and aesthetic integrity of your home for decades.